How to Germinate Cannabis Seeds: A Step-by-Step Guide
Introduction
Germinating cannabis seeds is the first crucial step towards growing your own cannabis plants successfully. Whether you’re a novice or an experienced cultivator, understanding the germination process is essential for a healthy and productive cannabis garden. In this step-by-step guide, we will walk you through the process of germinating cannabis seeds to ensure you have the best start for your plants.
Step 1: Gather Your Materials
Before you start the germination process, make sure you have all the necessary materials at hand:
- Cannabis seeds
- Distilled water or tap water left to sit for 24 hours
- Sterile and moistened paper towels
- Two clean and shallow plates
- A dark and warm location
- Tweezers or small tongs
Step 2: Choose Quality Cannabis Seeds
The quality of your cannabis seeds greatly influences your final harvest. Select seeds from reputable breeders or trusted sources to ensure you’re starting with healthy genetics. Indica, Sativa, or hybrid strains can all be germinated using the same method.
Step 3: Prepare the Seeds
Handle your cannabis seeds carefully with clean hands or sterilized tweezers. Avoid damaging the delicate seedlings inside the seeds. Check for any visible signs of damage or deformities.
Step 4: Pre-soak the Seeds
Pre-soaking the seeds helps soften the outer shell and kickstarts the germination process. Place the seeds in a glass of distilled water or tap water left to sit for 24 hours. This will make it easier for the seeds to absorb moisture and initiate germination.
Step 5: Prepare the Germination Environment
Line one of the clean, shallow plates with a moistened paper towel. Ensure the paper towel is damp but not soaking wet. Place your seeds on the towel, spacing them out evenly. Cover the seeds with another moistened paper towel and use the second plate as a lid to create a dark and humid environment.
Step 6: Maintain Ideal Conditions
Keep the plates in a dark and warm location with a temperature between 70°F to 85°F (21°C to 29°C). A dark cupboard or closet is an ideal spot. Check the paper towels daily to ensure they remain moist but not soggy. If they dry out, gently mist them with water.
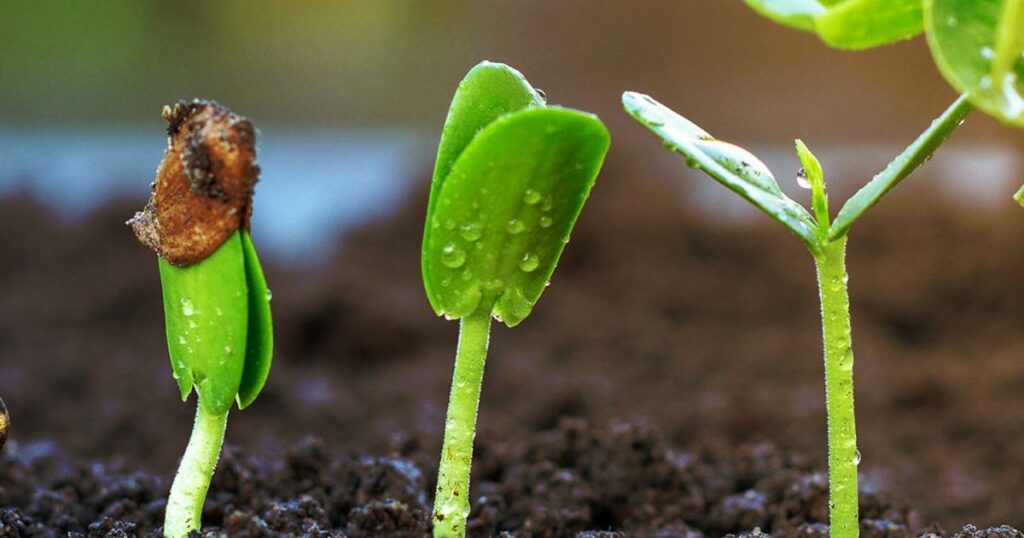
Step 7: Monitor Germination Progress
In about 2-7 days, you should see the cannabis seeds cracking open and tiny white roots emerging from them. This is a sign that germination is successful. At this point, the seeds are ready for planting in your chosen growing medium.
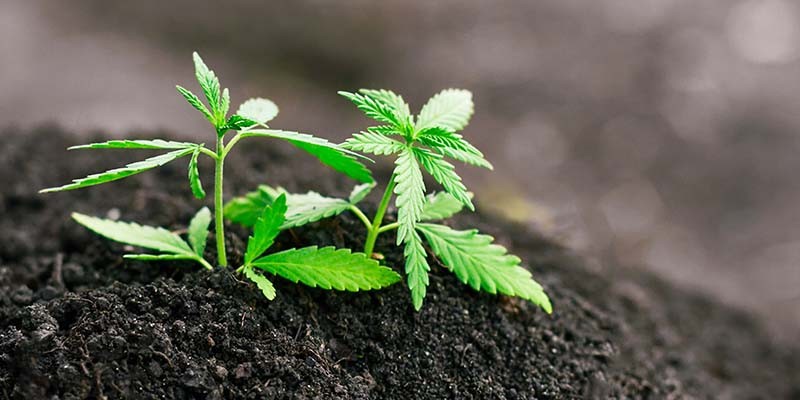
Step 8: Transplant Seedlings
Carefully transplant the germinated seeds into your preferred growing medium (e.g., soil or hydroponics). Plant them with the root facing downward and cover them with a thin layer of soil or your chosen medium. Be gentle to avoid damaging the delicate root.
Step 9: Provide Proper Lighting
After transplanting, place your seedlings under appropriate lighting conditions. If you’re growing indoors, use high-quality grow lights with the right spectrum for the vegetative stage.
Step 10: Maintain Proper Care
Continuously monitor your cannabis plants’ growth and adjust environmental conditions as needed. Ensure they receive the right amount of light, water, and nutrients throughout their lifecycle.
Step 11: Transplant Seedlings to Larger Containers
As your cannabis seedlings grow, they will outgrow their initial containers. When you see the roots starting to fill the pot and the plant growing taller, it’s time to transplant them into larger containers. This ensures they have enough space for their roots to develop and prevents them from becoming root-bound.
Step 12: Choose the Right Growing Medium
Cannabis can be grown in various growing mediums, including soil, hydroponics, and coco coir. Each medium has its advantages and disadvantages, so choose the one that best suits your experience level and preferences. Make sure you provide the appropriate nutrients and pH levels for your chosen medium.
Step 13: Proper Nutrient Management
Nutrient management is critical to the health and growth of your cannabis plants. During the vegetative stage, cannabis plants require different nutrients than during the flowering stage. Use a high-quality cannabis-specific fertilizer and follow the manufacturer’s recommendations to avoid nutrient deficiencies or overfeeding.
Step 14: Maintain an Appropriate Light Cycle
Cannabis plants require a specific light cycle for healthy growth. During the vegetative stage, provide your plants with 18-24 hours of light and 6-0 hours of darkness each day. When you want them to transition into the flowering stage, reduce the light cycle to 12 hours of light and 12 hours of darkness to stimulate bud production.
Step 15: Monitor Environmental Conditions
Cannabis plants are sensitive to environmental factors like temperature and humidity. Maintaining the right conditions in your grow space is essential for optimal growth. Keep the temperature within the range of 70°F to 85°F (21°C to 29°C) during the day and slightly cooler at night. The ideal humidity levels vary between the vegetative and flowering stages but generally fall between 40% and 60%.
Step 16: Prune and Train Your Plants
Pruning and training your cannabis plants can help increase yields and control their shape. Techniques such as topping, low-stress training (LST), and defoliation can encourage bushier growth and improve light penetration. Research and choose the method that suits your cultivation goals.
Step 17: Pest and Disease Management
Keep a close eye on your cannabis plants for any signs of pests or diseases. Early detection and intervention are crucial to prevent infestations from damaging your crop. Use organic or chemical solutions as needed to address these issues, and always follow the recommended safety precautions.
Step 18: Harvesting
The time to harvest your cannabis plants depends on the strain and your desired effects. Most strains are ready for harvest when the trichomes (tiny resin glands) on the buds change from clear to cloudy or amber. Cut the branches, trim the buds, and hang them to dry in a dark and well-ventilated space. Once dried, cure the buds in glass jars to improve flavor and potency.
Step 19: Enjoy Responsibly
After harvesting, you can finally enjoy the fruits of your labor. Remember to consume cannabis responsibly and in accordance with local laws and regulations. Store any excess product in a cool, dark, and airtight container to maintain its quality over time.
Conclusion:
Germinating cannabis seeds is the crucial first step to a successful cannabis cultivation journey. By following this step-by-step guide, you can ensure your seeds have the best chance of sprouting and growing into healthy, robust plants. Remember that patience and attention to detail are key, and always comply with your local laws and regulations regarding cannabis cultivation. Happy growing!